
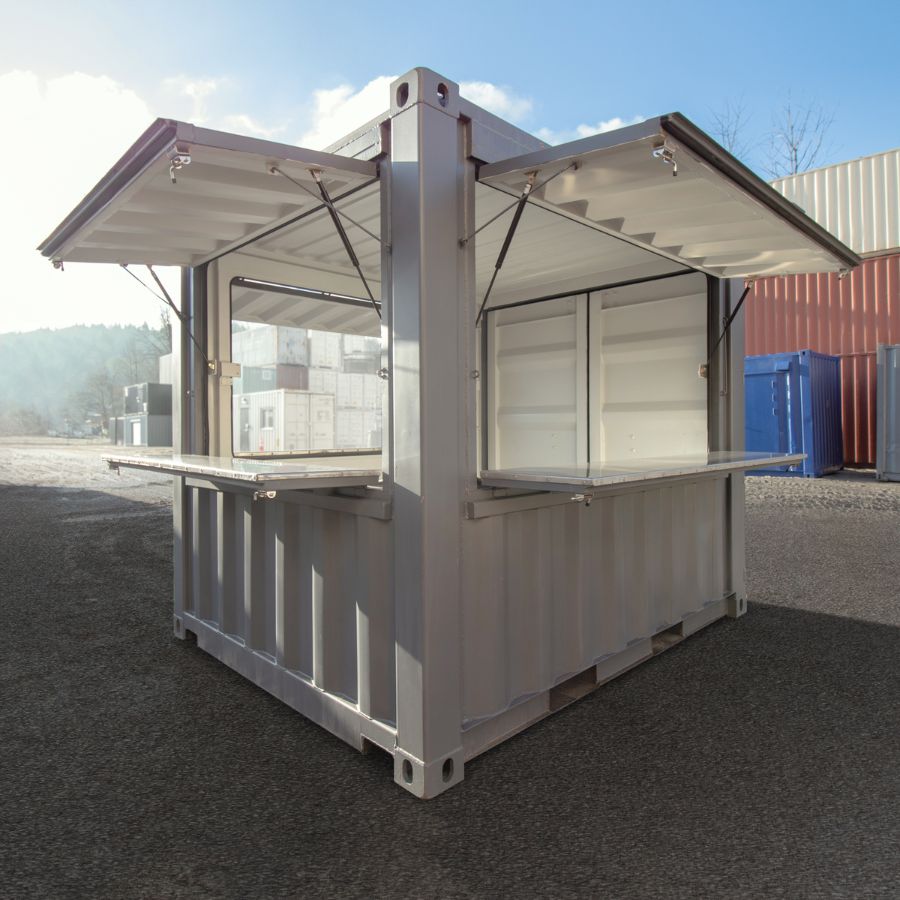
Designing a Functional Tiny Office: Space-Saving Hacks with Containers
In today’s flexible work environment, a compact, well-designed workspace can boost productivity, creativity, and well-being. Container-based offices offer a nimble, cost-effective path to a dedicated work zone that fits nearly any site. At LPKC Cubes, we transform repurposed containers into efficient, stylish mini offices that maximize every inch. Here’s how to design a functional tiny office using containers, with practical hacks you can apply right away.
Why Choose a Container Office?
- Speed and predictability: Off-site fabrication means faster delivery and installation.
- Durability and security: Steel construction stands up to weather and daily use.
- Scalability: Modules can be added or reconfigured as needs change.
- Customizability: Interiors can be tailored with insulation, finishes, and smart layouts.
Step 1: Define Your Space and Use
- Purpose: Quiet focus, client meetings, or a mixed-use workstation.
- Location: Garden, rooftop, backyard, or urban lot—consider access, shade, and privacy.
- Required Systems: Electrical outlets, lighting, heating/cooling, data connectivity, and ventilation.
- Budget and Timeline: Set targets for delivery, foundation, insulation, interiors, and permits if needed.
Step 2: Choose the Right Container Configuration
- 20-foot container: Ideal for a single workstation with a compact footprint.
- 40-foot container: More space for a dual monitor setup, meeting nook, or built-in storage.
- Two containers in tandem (side-by-side): Creates a small office with a separate entry or a dedicated meeting area.
- Multi-module layouts: Add storage, a small kitchenette, or a cloakroom while keeping the main work zone clear.
Step 3: Maximize Space with Smart Layouts
- Zoning by height: Use vertical space with wall-mounted shelves and overhead storage.
- Murphy or fold-down furniture: Desks and beds that fold away when not in use free floor area.
- Floating workstations: Cantilevered desks reduce the need for bulky supports and create under-desk storage.
- Integrated storage: Cabinets built into the walls, seating with storage, and magnetized wall panels for tools.
- Clear circulation paths: Ensure at least 2 feet (60 cm) of clearance around furniture for movement and safety.
Step 4: Optimize Lighting and Climate
- Natural light first: Install energy-efficient windows or a translucent panel to brighten the space without sacrificing privacy.
- Layered lighting: Ambient ceiling lighting, task lighting at the desk, and accent lighting for mood.
- Climate control: Insulation is essential. Pair with a compact mini-split system or high-efficiency heater/cooler for even comfort.
- Ventilation: Consider a small ventilation fan or operable windows to maintain air quality.
Step 5: Electrical, Data, and Tech Placement
- Power strategy: Plan outlets along the desk line, with dedicated circuits for high-draw equipment.
- Data connectivity: Ethernet hardlines or reliable Wi-Fi access points; consider a wall-mounted patch panel for tidy cables.
- Cable management: Use in-wall conduits or raised floors where practical; label all cables for quick changes.
- Smart controls: Integrate smart thermostats, lighting controls, and occupancy sensors to save energy.
Step 6: Finishes and Comfort
- Walls and ceilings: Moisture-resistant panels or drywall with moisture-tolerant paint; light colors reflect light.
- Flooring: Durable, easy-clean options like vinyl plank or engineered wood with a sealed finish.
- Acoustics: Sound-dampening panels, thick rugs, and soft furnishings reduce echo for focused work.
- Ergonomics: A comfortable chair, adjustable desk height, and monitor stands reduce strain.
Step 7: Exterior Treatment and Branding
- Weatherproofing: Seal joints, insulate, and apply protective cladding or paint suitable for your climate.
- Aesthetics: Match or accent your home or business with color, branding, and exterior finishes.
- Outdoor integration: A small deck, planters, or shade solutions can extend the usable workspace.
Step 8: Compliance and Safety
- Permits and codes: Check local zoning, building codes, and HOA rules. LPKC Cubes can assist with documentation and approvals.
- Safety features: Ensure proper electrical grounding, smoke/CO detectors, and secure door hardware.
- Maintenance plan: Schedule periodic checks on seals, roofing, and mechanical systems to extend life.
Case Study Snapshot: A Functional Tiny Office by LPKC Cubes
- Configuration: 20-foot container with a fold-down desk, wall-mounted storage, and a clerestory window for daylight.
- Key Features: Insulated envelope, compact wall-mounted shelves, and a compact HVAC solution.
- Outcome: A bright, focused workspace with ample storage and a minimal footprint.
Getting Started with LPKC Cubes
- Consultation: Share your site, goals, and budget to determine feasibility.
- Site Evaluation: We assess foundation needs, access, and utilities.
- Design and Customization: Choose container size, configuration, insulation, finishes, and fixtures.
- Delivery and Installation: We handle procurement, transport, and on-site setup.
- Post-Install Support: Warranties, maintenance guidelines, and optional service plans.
Take the Next Step
Ready to design a functional tiny office that maximizes every inch? Reach out to LPKC Cubes today for a consultation, quote, or design concept. We’re excited to help you create a productive, stylish workspace that fits your site and budget.